Extra Long Cornices
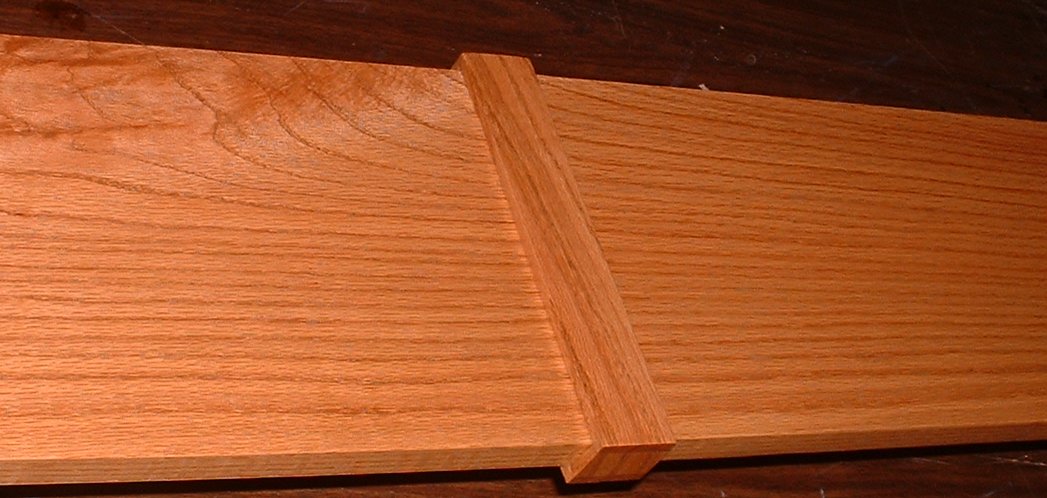
- For cornices that are too long to ship, we make sectional cornices.
- They are made and shipped in sections.
- At installation, one side slides into the other.
- They have a vertical trim to hide the joint.
- Longest cornice made so far is 21 feet.
- See picture examples below.
|
|
|
 |
Conventional Sectional Cornice
|
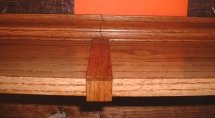 |
Traditional Sectional Cornice |
 |
Mission2 Sectional Cornice
- Mission2 is works very well as a sectional as the
vertical trim matches the design.
|
Bay Windows Yes, we can do cornices for bay
windows for several designs. Inquire for information.
|
Please submit Inquiry with zip code and window width to get shipping quote.
|
|


Copyright © 2003 [CustomCarved.com] [CustomCornice.com].
All rights reserved.